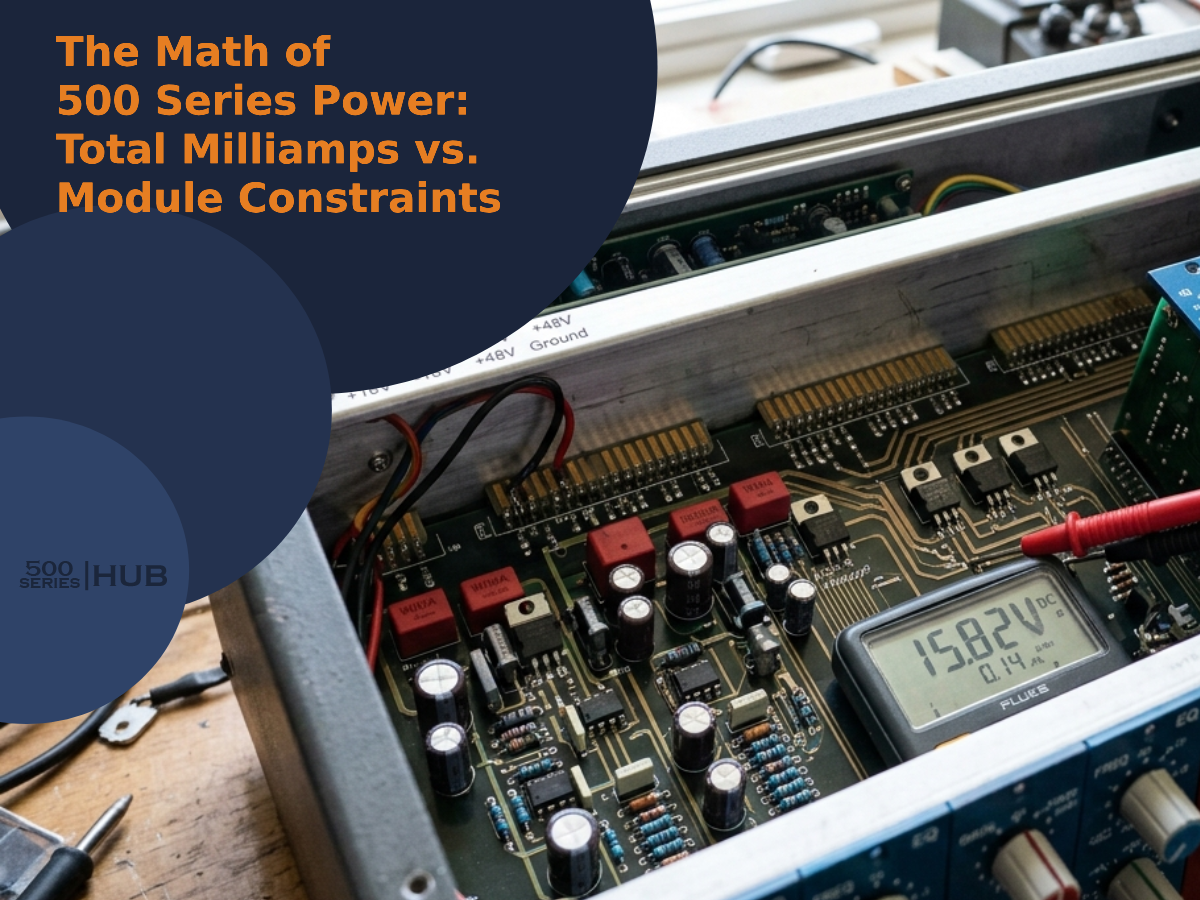
500-Series Mistakes
The most common mistakes you’ll make with a 500-series rack include choosing a chassis before mapping your modules, overloading the power supply beyond its peak capacity, and ignoring pin compatibility differences between manufacturers.
You’ll also run into grounding issues, gain-staging errors, and crosstalk if you fill every slot without checking power headroom. Each of these pitfalls has specific warning signs and fixes you can apply before they compromise your signal chain.
Choosing Your 500-Series Chassis Before Your Modules
While it’s tempting to start your 500-series journey by picking a flashy chassis, this approach often leads to compatibility issues, wasted rack space, and unnecessary spending. You should prioritize module selection first, then match your chassis to those specific power requirements and cooling considerations.
Start by mapping your signal chain needs and identifying which modules you’ll run. Once you’ve defined your core lineup, evaluate chassis capacity against your expansion plans, not just current needs.
Module compatibility varies across manufacturers, and module placement affects both thermal performance and signal integrity. A chassis that can’t deliver adequate current per slot will compromise your premium modules’ performance.
Don’t let aesthetic choices drive technical decisions. Select your modules, audit their cumulative power draw, then choose a chassis engineered to support them.
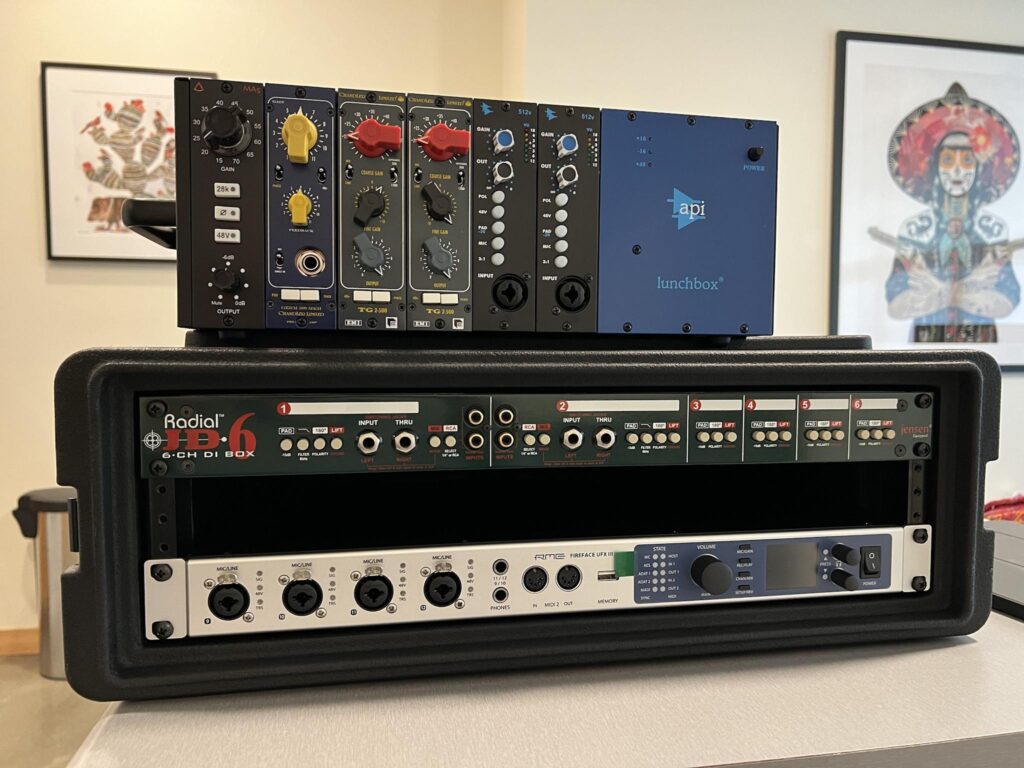
Overloading Your 500-Series Power Supply
Most 500-series chassis spec their power supplies at aggregate maximums that don’t account for peak current demands across all slots simultaneously.
You’ll encounter power distribution concerns when stacking multiple high-draw modules, particularly tube preamps alongside digital converters, without performing supply compatibility checks first.
Review each module power requirements document before populating your chassis. Compare cumulative ±16V and +48V draws against your chassis’s actual power supply capacity, not its marketed figures.
Apply load balancing techniques by distributing power-hungry modules across non-adjacent slots to minimize thermal management issues and prevent rail sag.
Voltage regulation importance compounds as you approach capacity limits, unstable rails introduce noise, distortion, and unpredictable behavior.
Monitor rail voltages under full load using a multimeter. If readings deviate beyond ±5%, you’ve exceeded safe operational thresholds.
Ignoring 500-Series Pin and Wiring Compatibility
Although the VPR Alliance standardized the 500-series format around a common edge connector pinout, manufacturers don’t always implement every pin identically, and assuming universal compatibility across all modules and chassis will cost you signal integrity.
Before installation, verify pin configurations against your chassis documentation. Some racks route power distribution differently or omit certain signal pins, disrupting expected signal flow.
Your module placement matters too, stereo-linked channels, sidechain sends, and summing buses rely on specific slot-to-slot wiring standards that vary by manufacturer.
Run compatibility checks before powering up. Cross-reference each module’s spec sheet with your rack’s wiring schematic. Pay attention to grounding schemes and phantom power routing.
Key installation tips: seat modules firmly, inspect edge connectors for debris, and never hot-swap. Precision here prevents costly troubleshooting later.
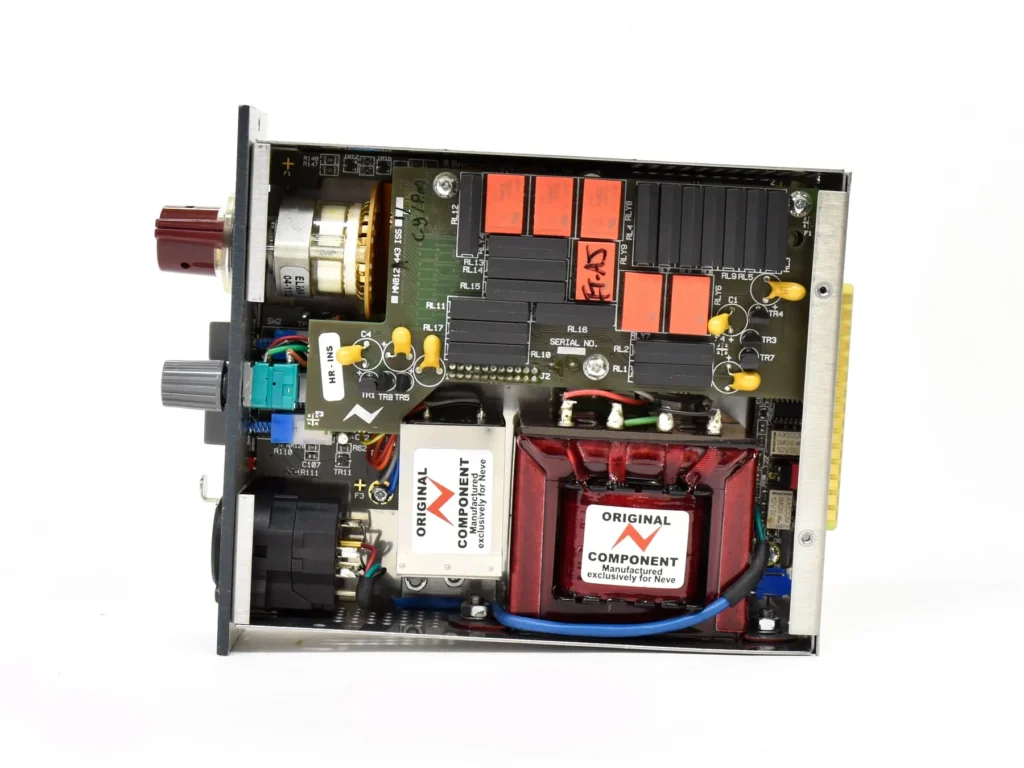
Filling Every 500-Series Slot Too Soon
Because empty slots in a 500-series rack feel like wasted potential, many users rush to fill every position, sacrificing power headroom, thermal stability, and future routing flexibility in the process.
Before committing, apply these module selection strategies:
- Run power distribution methods analysis, calculate each module’s current draw against your chassis’s total supply, leaving 20–30% headroom for sound quality considerations.
- Perform module compatibility checks, verify that high-gain preamps won’t crosstalk into adjacent EQs.
- Align future expansion plans, reserve slots for compressors or converters you’ll need as workflows evolve.
- Follow budget allocation advice, invest in fewer premium units rather than filling every bay with compromises.
Smart rack organization tips prioritize strategic gaps over full occupancy, ensuring each module operates at peak performance.
Botching Gain Staging Across Your 500-Series Chain
When you chain multiple 500-series modules without monitoring inter-stage levels, you’re inviting distortion, noise-floor degradation, and tonal inconsistencies that no amount of downstream processing can fix.
Track your gain levels at every junction. A preamp pushing +24 dBu into a compressor expecting +4 dBu crushes your dynamic range instantly.
Check signal flow methodically: measure output from each module before it hits the next input. Adjust module settings to maintain ideal operating levels throughout the chain.
EQ adjustments compound the problem, boosting 6 dB at one stage means the following module receives a hotter signal, increasing audio distortion risk.
Without deliberate calibration, you’ll create feedback loops of corrective processing, each fix introducing new artifacts. Meter between stages, not just at the output.
Assuming All 500-Series Modules Play Nice Together
Despite sharing a standardized form factor, 500-series modules vary considerably in impedance characteristics, voltage rails, and current draw, and mixing manufacturers without checking specs creates real problems.
Module interaction challenges emerge when you ignore these critical compatibility factors, leading to signal routing issues and noise interference problems that degrade your signal path.
Before combining modules from different brands, verify these specifications:
- Impedance mismatches between output and input stages that cause frequency response variations and tonal coloration.
- Power consumption concerns, modules exceeding your chassis’s per-slot current allocation starve neighboring units.
- Installation layout considerations affecting crosstalk between high-gain preamps and sensitive EQ modules.
- Grounding scheme differences that introduce hum loops when modules reference ground differently.
You’ll avoid costly troubleshooting by cross-referencing datasheets before purchasing.
Neglecting Grounding and Cables in Your 500-Series Rack
For troubleshooting tips, swap cables systematically to isolate noise sources before blaming modules.
Inspect connectors quarterly as part of your modular maintenance routine; oxidized pins degrade performance silently.
You’ll extract measurably better results from mid-tier gear with disciplined cabling than from flagship modules in a poorly wired rack.
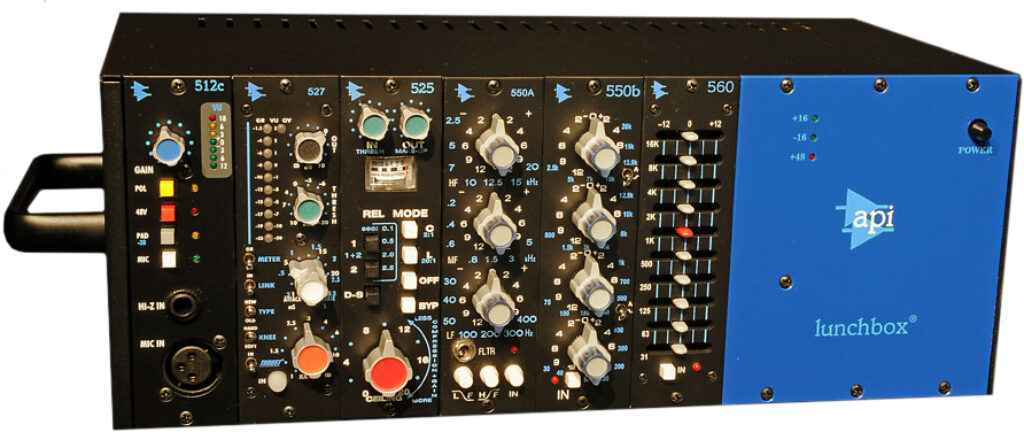
Buying Cheap 500-Series Adapters That Cost You More
Before purchasing, run this cost analysis:
- Check brand reputation: established manufacturers invest in tighter tolerances and superior components.
- Read user reviews: real-world feedback exposes hidden compatibility issues cheaper units create with specific modules.
- Calculate long-term investment: replacing a failed connector plus repairing damaged modules eclipses the premium unit’s price.
- Benchmark performance trade-offs: measure THD, crosstalk, and power rail stability against reference-grade units.
Treat your 500-series rack as infrastructure. Cutting corners here undermines every module you connect.
Frequently Asked Questions
Q: Can I Use 500-Series Modules Without a Chassis for Portable Recording?
A: No, you can’t skip the chassis. Your modules need its power requirements met via the rack’s bus. For portable recording, investigate lightweight case options that maintain module compatibility, preserve your signal chain, and protect audio quality despite weight considerations.
Q: Are 500-Series Modules Worth It Compared to Standalone Rackmount Units?
A: Think of 500-series modules as building blocks in a tower. You’ll find comparable sound quality to standalone units, better cost comparison per channel, superior portability benefits, module versatility, saved rack space, streamlined user experience, and easier future upgrades.
Q: How Do I Clean and Maintain My 500-Series Modules?
You should apply module cleaning techniques monthly, follow maintenance frequency tips in your user manual, its importance can’t be overstated and adopt dust prevention methods, cable management strategies, and storage best practices while troubleshooting common issues proactively.
Q: Can 500-Series Modules Be Used for Live Sound Applications?
A: Why limit yourself to the studio? You can use 500-series modules in live sound setups for superior signal processing and sound quality, though you’ll need to address portability concerns, module compatibility, equipment integration, and mixing techniques.
Q: What Are the Best 500-Series Modules for Beginners?
A: You’ll find the best beginner recommendations in popular brands like Warm Audio and DBX, offering excellent audio quality at accessible price considerations. Prioritize essential features, verify module compatibility with your chassis, and compare user experiences before buying.
Conclusion
You’ve walked through a garden where each misstep, overloaded power supplies, mismatched pins, reckless gain staging, represents a thorn you’ll inevitably grasp if you rush blindly forward. Think of your 500-series rack as an ecosystem, not a trophy case.
Every module, cable, and chassis choice either strengthens or destabilizes the whole. You won’t master this format by filling slots; you’ll master it by understanding the architecture beneath them.
Related Articles
- 500 Series Audio: Pro Audio Equipment for Every Home Studio!
- History of 500 Series Format: How 500 Series Modules Came!
- Understanding 500 Series Chassis: A Complete Guide
- 500 Series Vs Standard Rack Gear: Key Differences & Comparison!
- Rupert Neve 542 Review: Legacy Tape Emulator!
- Elysia xfilter 500 Review: Pro Audio Stereo Equalizer!
- Chandler tg2 500 Review: 500 Series Microphone Preamp!